One of the most exciting and widely accepted projects in MSBuild community is MSBuild Extension Pack tasks. MSBuild Extension pack provides a collection of over 240 MSBuild tasks you may use in your MSBuild projects for free!
In MSBuild Sidekick v 2.3 we introduced integration with MSBuild Extension Pack tasks; now you can add, edit properties and view online help for all the MSBuild Extension Pack tasks in the Sidekick application.
To illustrate these features let’s create new MSBuild project in MSBuild Sidekick v2.3 and add a MSBuild Extension Pack task to it.
Note: you should have MSBuild Extension Pack properly installed; it is available at http://www.codeplex.com/MSBuildExtensionPack.
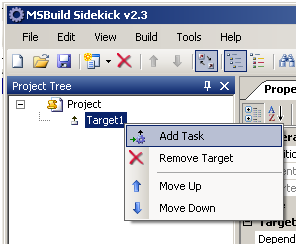
1. Right click on Target element and choose "Add Task" from context menu.
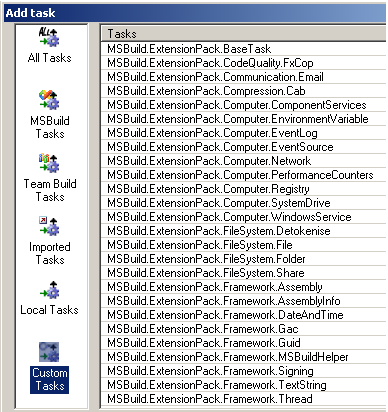
2. In the "Add Task" dialog choose "Custom Tasks" tab – you should see there all the MSBuild Extension Pack task classes.
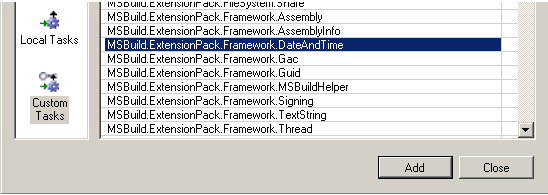
3. Then click on task class you’re going to use in your project, click "Add" button and click "Close" to leave dialog window.
Note: you can add multiple tasks using "Add Task" dialog by clicking "Add" button multiple times.
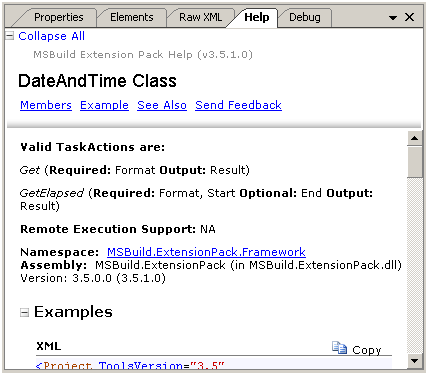
4. Choose relevant task action in TaskAction property drop-down for your new task.
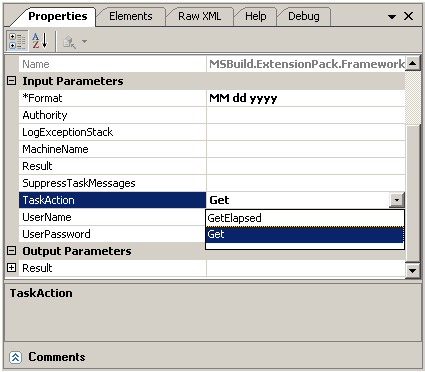
5. Once task action is selected, the task parameters list will be filtered automatically, so that only task parameters relevant for the selected task action will be displayed. Required input parameters will be marked with asterisk (see Format parameter on the screenshot above).
6. To view online help for the selected MSBuild Extension Pack task navigate to Help window.