In the recent post we described the basics of debugging typical MSBuild project.
In this post we shall touch upon important feature of MSBuild Sidekick debugger – namely inspecting Property and Item values during debugging with Globals and Autos windows.
The walkthrough below will show how to review Property and Item values while debugging:
1. Start debugging project in step-by-step mode (see previous post)
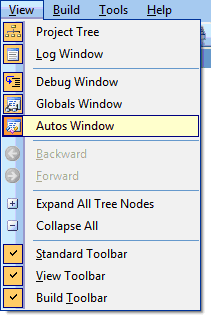
2. When Target/Task is selected (highlighted with bold border in Debug window) click on View > Globals Window and View > Autos Window menu.
Globals and Autos windows will appear at bottom pane of main application window.
Note: you may simply change these windows position by dragging-and-dropping them anywhere on application window.
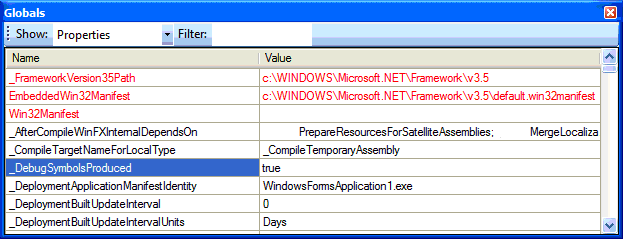
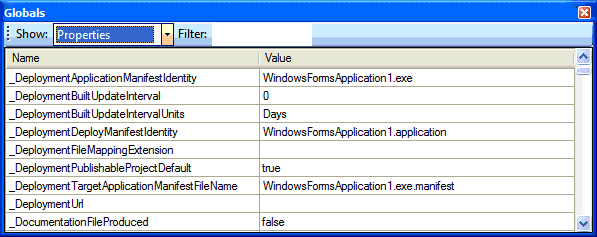
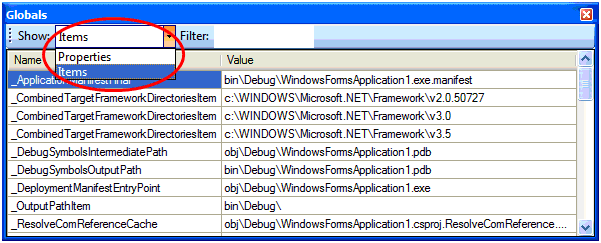
Globals window displays Property and Item values as they are evaluated during the build execution.
Autos window is similar to Globals window but displays only Properties/Items that are defined as input or output parameters for Target/Task element to be executed at the next step as you step through the project.
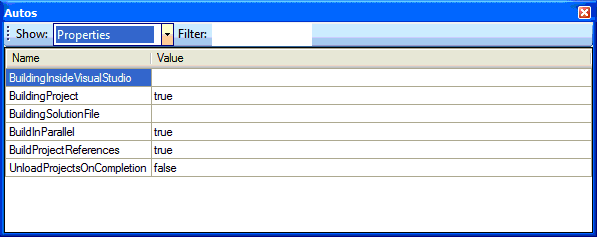
3. Now let’s review the data. One can use Show combo box to switch between Properties and Items view mode.
Data is organized as a table with the following columns:
* Property/Item name
* Property/Item current value
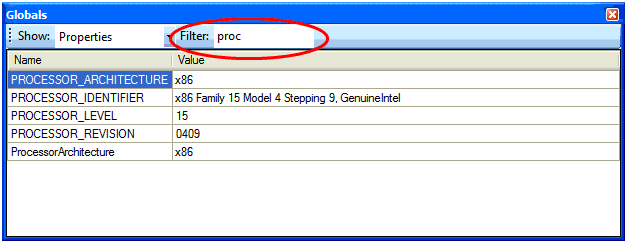
4. You may also use Filter text box to filter currently visible elements based on element name.
5. As you click on "Debug Step" button and debug step-by-step you may see that Properties/Items that have been changed on previous step are highlighted in red.